Seifensäckchen Häkeln
Today, you will embark on a delightful journey into the world of “Seifensäckchen Häkeln,” otherwise known as crochet soap pouches. Within the realm of this craft, you will discover the joy of transforming simple yarn into practical and eco-friendly items that elevate your everyday bathing experience. By following step-by-step instructions and utilizing basic crochet techniques, you will be able to create personalized soap pouches, adding a touch of charm to your bathroom decor while contributing to a sustainable lifestyle. So, grab your crochet hook and let’s dive into the art of Seifensäckchen Häkeln!
Materials Needed
To get started on your crochet soap sack project, you’ll need a few basic materials:
Yarn
The first item you’ll need is yarn. Choose a yarn that is suitable for your project. Consider the texture, color, and thickness of the yarn. Opt for a yarn that is soft and gentle on the skin, as it will be used to hold your soap.
Crochet hook
Next, you’ll need a crochet hook. The size of the crochet hook will depend on the thickness of your chosen yarn. It’s important to select a crochet hook that is appropriate for the yarn you are using, as it will affect the tension and size of your stitches. Check the yarn label for the recommended crochet hook size.
Scissors
Don’t forget to have a pair of scissors on hand. You’ll need them to cut the yarn as you work on your soap sack.
Yarn needle
Lastly, you’ll need a yarn needle. This will be used to weave in loose ends and finish off your soap sack. Make sure to choose a needle with a large enough eye to accommodate the yarn you are using.
Having all these materials ready will ensure a smooth and enjoyable crochet experience.
Choosing Yarn and Hook
Before diving into your crochet project, it’s important to consider a few factors when choosing your yarn and crochet hook.
Consider the purpose
Think about how you plan to use your soap sack. Will it be for personal use, as a gift, or for selling? This will help you determine the appropriate yarn material and color. For example, if it’s a gift, you might want to choose a yarn in the recipient’s favorite color or a luxurious yarn for a special touch.
Select the appropriate yarn
Once you’ve decided on the purpose, select your yarn accordingly. Opt for a soft and durable yarn that will last through multiple uses and washing cycles. Consider using cotton or bamboo yarn for their absorbency and gentle touch to the skin. Acrylic yarn can also be a good option for its affordability and easy care.
Determine the suitable crochet hook size
The size of your crochet hook will affect the size and tension of your stitches. Refer to the recommended crochet hook size on the yarn label as a starting point. If you want a tighter stitch, choose a smaller hook size, and if you prefer a looser stitch, opt for a larger hook size. Keep in mind that using a different hook size than recommended may alter the final size of your soap sack.
By considering these factors, you can ensure that your yarn and hook complement each other and result in a beautiful and functional soap sack.

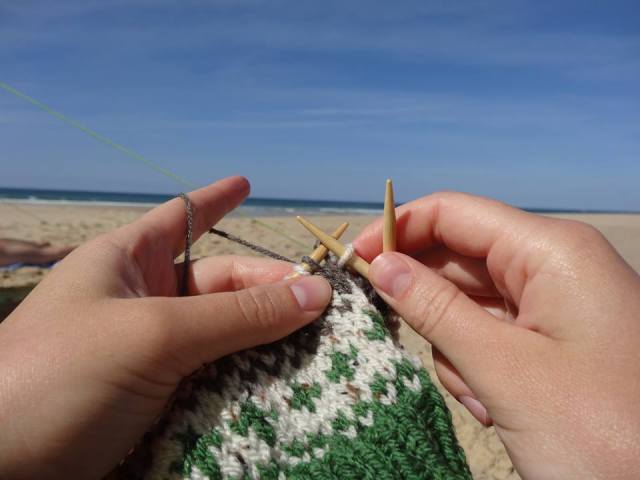
This image is property of i.ytimg.com.
Basic Crochet Stitches
Before you begin crocheting your soap sack, familiarize yourself with a few basic crochet stitches. These stitches will form the foundation of your project and allow you to create a variety of designs and textures.
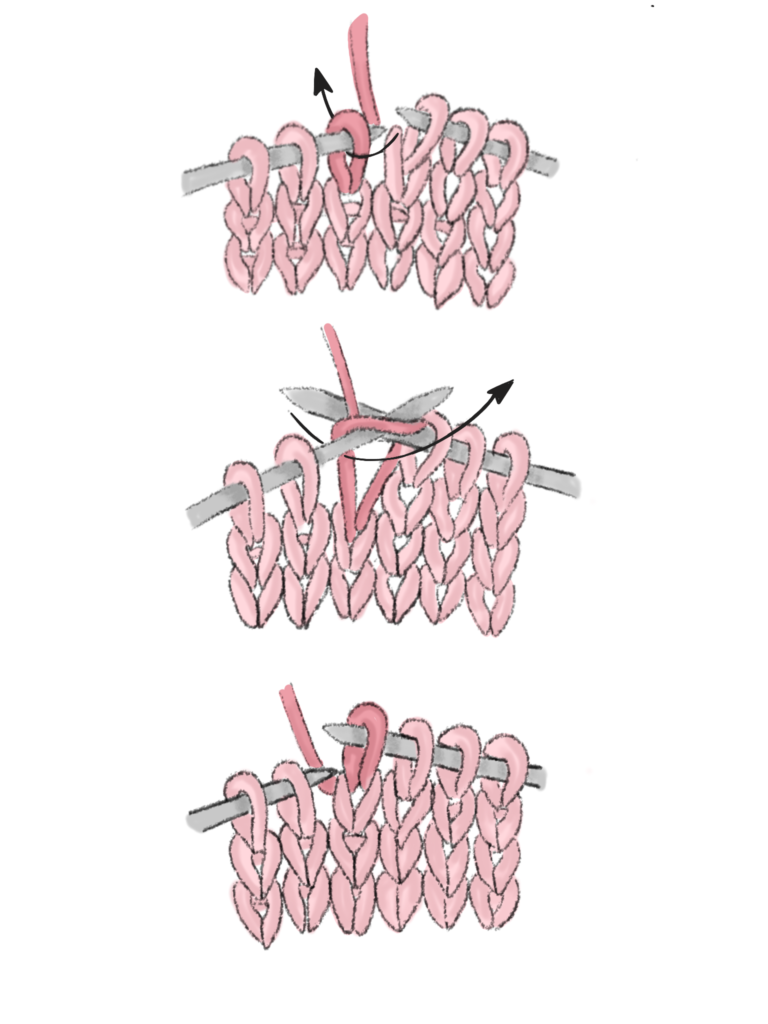
Chain stitch
The chain stitch, often abbreviated as “ch,” is the most basic crochet stitch. It creates a series of interconnected loops. To make a chain stitch, start with a slip knot on your crochet hook. Then, yarn over using the tail end of the yarn and pull it through the loop on your hook. Repeat this process until you have the desired number of chain stitches.
Slip stitch
The slip stitch, abbreviated as “sl st,” is used to join stitches or create decorative effects. To make a slip stitch, insert your hook into the specified stitch or space, yarn over, and pull the yarn through both the stitch and the loop on your hook in one motion.
Single crochet
The single crochet stitch, abbreviated as “sc,” is a versatile stitch used in many crochet projects. To make a single crochet, insert your hook into the specified stitch, yarn over, and pull the yarn through the stitch (you should have two loops on your hook). Yarn over again and pull the yarn through both loops on the hook.
Half double crochet
The half double crochet stitch, abbreviated as “hdc,” is taller than a single crochet but shorter than a double crochet. To make a half double crochet, yarn over, insert your hook into the specified stitch, yarn over again, and pull the yarn through the stitch (you should have three loops on your hook). Yarn over once more and pull the yarn through all three loops on the hook.
Double crochet
The double crochet stitch, abbreviated as “dc,” is a taller crochet stitch that creates a loose and open fabric. To make a double crochet, yarn over, insert your hook into the specified stitch, yarn over again, and pull the yarn through the stitch (you should have three loops on your hook). Yarn over once more and pull the yarn through the first two loops on the hook, then yarn over again and pull the yarn through the remaining two loops.
Treble crochet
The treble crochet stitch, abbreviated as “tr,” is one of the tallest basic crochet stitches. It creates a loose and lacy fabric. To make a treble crochet, yarn over twice, insert your hook into the specified stitch, yarn over again, and pull the yarn through the stitch (you should have four loops on your hook). Yarn over once more and pull the yarn through the first two loops on the hook, then yarn over again and pull the yarn through the next two loops, and finally yarn over again and pull the yarn through the last two loops.
By mastering these basic crochet stitches, you’ll have the foundation to create a wide range of crochet projects, including your soap sack.
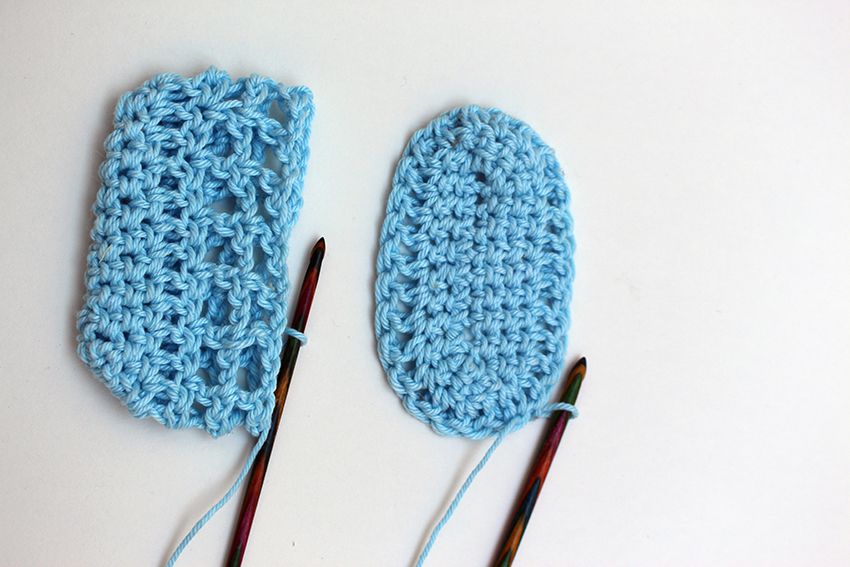
Creating the Base of the Soap Sack
Now that you’re familiar with the basic crochet stitches, it’s time to start creating the base of your soap sack.
Make a slip knot
Start by making a slip knot on your crochet hook. To make a slip knot, simply create a loop with your yarn, insert the hook through the loop, and pull the loose end of the yarn to tighten the loop around the hook. Adjust the size of the loop according to your desired starting chain length.
Foundation chain
Next, you’ll create a foundation chain. This chain will serve as the base for your soap sack. To make a chain stitch, yarn over and pull the yarn through the slip knot on your hook. Repeat this process until you have the desired number of chain stitches. Remember to count your stitches to ensure accuracy.
Forming a circle
To form a circle with your foundation chain, insert your hook into the first chain stitch you made. Make sure not to twist the chain as you join it. Yarn over and pull the yarn through both the stitch and the loop on your hook to create a slip stitch. This slip stitch will connect the last and first chain stitches, forming a circle.
Joining with a slip stitch
Once the circle is formed, you’ll want to join each round with a slip stitch. This ensures that the base of your soap sack is closed and secure. To join, insert your hook into the first stitch of the round, yarn over, and pull the yarn through both the stitch and the loop on your hook in one motion. This completes the slip stitch and allows you to move on to the next round.
By following these steps, you’ll have a solid base for your soap sack, ready to be worked on.

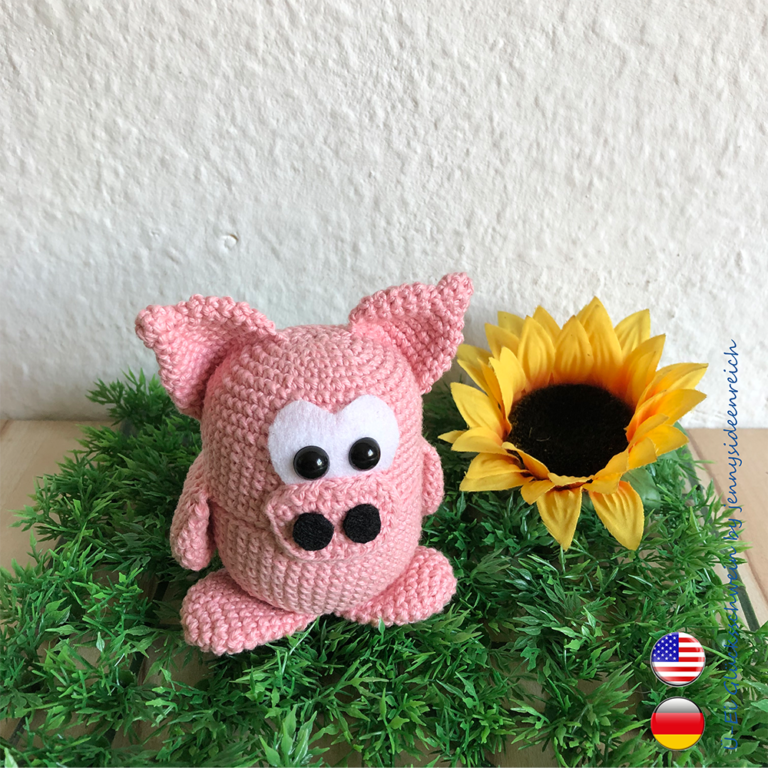
This image is property of i.ytimg.com.
Working on the Body of the Soap Sack
With the base of your soap sack complete, it’s time to move on to the body.
First round of stitches
Start the body of your soap sack by working a round of your desired stitch. You can choose from single crochet, half double crochet, or double crochet. Working in the round, insert your hook into the next stitch after the slip stitch join, yarn over, and pull the yarn through the stitch. Continue working the chosen stitch in each stitch around, joining each round with a slip stitch.
Increasing the number of stitches
To create a wider base for your soap sack, you’ll need to increase the number of stitches in each subsequent round. This is done by working multiple stitches into the same stitch of the previous round. For example, if you are working single crochet, you can increase by working two single crochet stitches into the same stitch of the previous round. By strategically placing these increases, you can achieve a gradual widening of your soap sack.
Working in continuous rounds
Instead of joining each round with a slip stitch, you also have the option to work in continuous rounds. This means that you keep crocheting without joining, which eliminates the visible seam that occurs when joining rounds. To work in continuous rounds, simply mark the first stitch of each round with a stitch marker and crochet in a spiral, without slip stitching to join.
Creating the desired height
Continue working rounds in your chosen stitch until your soap sack reaches the desired height. This will depend on personal preference and the size of the soap or other item you plan to put inside. Keep in mind that the size of your soap sack may change slightly after blocking, so consider that when determining the final height.
Adding decorative stitches
As you work on the body of your soap sack, consider adding decorative stitches to create texture and visual interest. You can incorporate stitches like the treble crochet or even try out different stitch patterns, such as shells or post stitches. These embellishments can elevate the look of your soap sack and make it stand out.
Feel free to experiment and get creative with your stitches to make your soap sack truly unique.
Finishing the Soap Sack
Once the body of your soap sack is complete, it’s time to finish off your project.
Cutting and securing the yarn
To finish off your soap sack, cut the yarn, leaving a tail of about six inches. Remove the loop from your hook and pull the tail of the yarn through the last stitch. Gently pull to tighten and secure the yarn.
Weaving in loose ends
Next, you’ll need to weave in any loose ends from the beginning and end of your work. Thread the yarn tail onto the yarn needle and weave it through the stitches on the inside of your soap sack. This will ensure a clean and professional finish.
Blocking the soap sack
Blocking your soap sack is optional but can help improve the shape and overall appearance of your crochet work. To block, wet your soap sack with cold water and gently squeeze out the excess moisture. Shape the soap sack to its desired size and lay it flat on a towel or blocking mat. Allow it to dry completely before using or gifting.
Blocking can help smooth out any uneven stitches and give your soap sack a polished look.

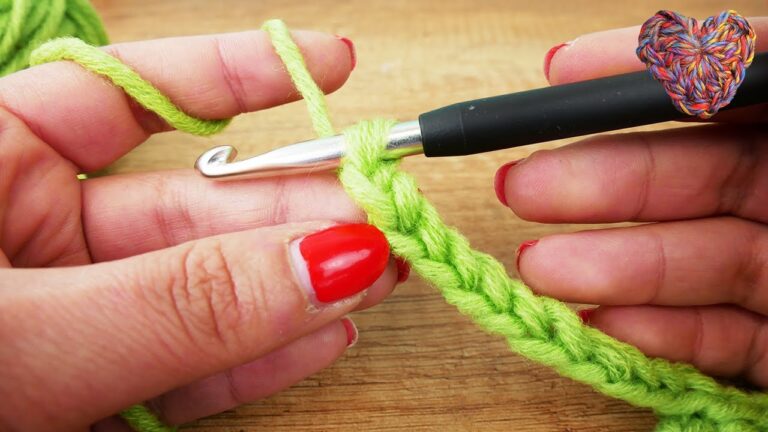
This image is property of yeah-handmade.de.
Additional Embellishments
To add a personal touch and make your soap sack even more special, consider incorporating additional embellishments.
Crocheting a drawstring
To create a drawstring closure for your soap sack, crochet a long chain and weave it through the stitches along the top opening. This adds functionality and allows you to tighten the opening to secure your soap.
Attaching buttons or beads
For a decorative touch, consider attaching buttons or beads to your soap sack. Sew them on securely using the yarn needle and matching yarn. Be creative and experiment with different sizes, shapes, and colors to achieve your desired look.
Adding a decorative edging
To give your soap sack a polished finish, consider adding a decorative edging. This can be achieved by working a row of single crochet, picot stitches, or any other decorative stitch pattern along the top or bottom edge of your soap sack. This will not only enhance the look of your project but also add a touch of elegance.
By adding these extra embellishments, your soap sack will become not only functional but also a beautiful handmade item.
Tips and Tricks
Here are a few tips and tricks to keep in mind as you work on your crochet soap sack:
Use stitch markers
Stitch markers are helpful tools to mark the beginning of each round or specific stitches. They can help you keep track of your progress and ensure accurate stitch counts.
Count your stitches
Counting your stitches at the end of each round is essential for maintaining the shape and size of your soap sack. Miscounting can result in an uneven shape or size discrepancies.
Experiment with different yarn colors
Don’t be afraid to try different yarn colors to create unique and eye-catching soap sacks. Play around with complementary or contrasting colors to achieve the desired effect.
Practice tension control
Tension control is crucial for achieving consistent stitch sizes throughout your project. Practice maintaining an even tension by adjusting the tightness of your yarn in relation to your crochet hook.
By following these tips and tricks, you’ll be able to crochet your soap sack with confidence and achieve beautiful results.

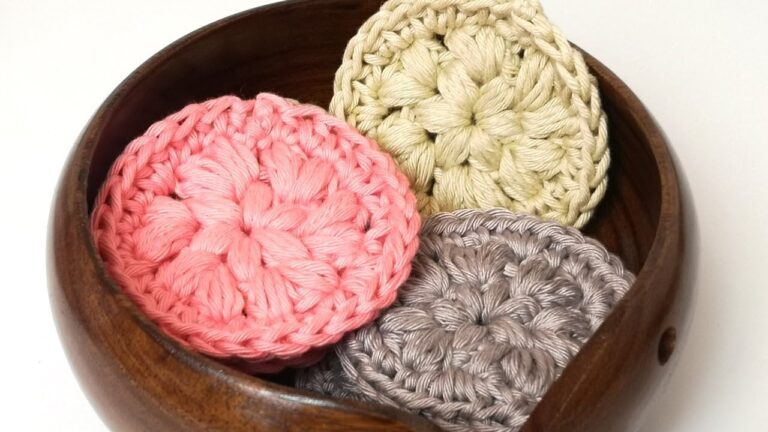
This image is property of www.waschbaer.de.
Functional and Aesthetic Variations
While the basic soap sack pattern is versatile on its own, there are several ways you can further customize your project.
Working with multiple colors
Instead of crocheting with a single color, experiment with using multiple colors to create unique patterns and designs. You can alternate colors every few rounds or incorporate color changes within a round for a striped effect.
Using textured yarn
To add more visual interest to your soap sack, try using textured yarn. Textured yarn can create a three-dimensional effect and add a touch of luxury to your project. Consider yarns with built-in loops or bumps, or try using techniques such as popcorn stitches to create texture.
Adding embroidery or appliques
If you want to take your soap sack to the next level, consider adding embroidery or appliques. You can stitch small designs or motifs onto the surface of your soap sack using a tapestry needle and embroidery floss or yarn. This allows you to personalize your soap sack with unique designs or monograms.
Using different crochet stitches for design
While the basic crochet stitches are sufficient for creating a functional soap sack, you can also incorporate more complex stitches for added design elements. Try experimenting with stitches like the puff stitch, shell stitch, or even cables to create interesting patterns and textures.
By exploring these variations, you can create soap sacks that are not only functional but also showcase your creativity and personal style.
Conclusion
Now that you have a comprehensive understanding of how to crochet your own soap sack, it’s time to put your skills to use. Remember to gather all the necessary materials, choose the appropriate yarn and hook, and familiarize yourself with the basic crochet stitches.
Take your time and enjoy the process of creating the base and body of your soap sack. Don’t be afraid to experiment with different stitches, colors, and embellishments to add your personal touch.
Once your soap sack is complete, don’t forget to finish off your project by cutting and securing the yarn, weaving in loose ends, and blocking if desired.
With a beautiful crochet soap sack in hand, you’ll have a functional and stylish accessory for your soap or a thoughtful gift for friends and family. Happy crocheting!

This image is property of www.sockshype.com.